


Warning: repairing a damper spring is a dangerous operation for those who are not familiar with the job. This article will explain how to do it, but we advise you to be cautious.
Repairing a shutter spring: what you need
- Work gloves. The springs of a damper are sharp, anti-cut work gloves are required.
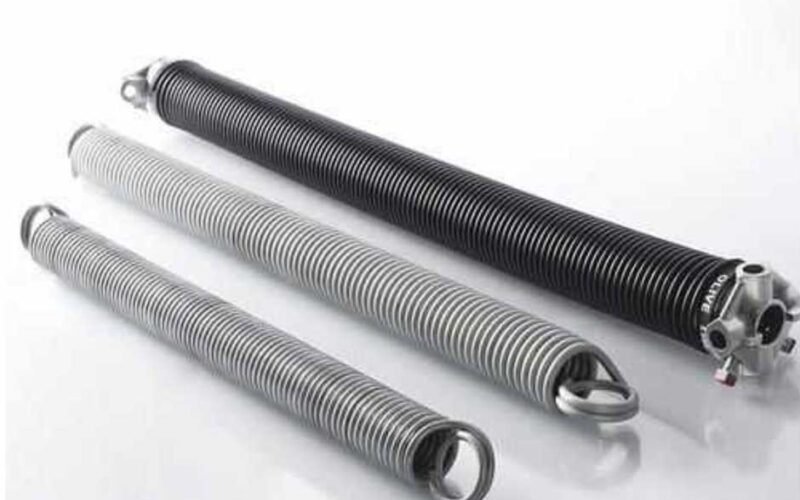
- A new damper spring designed for manual assembly. You can buy it in hardware stores or DIY stores.
- A solid ladder
- A screwdriver
- A pair of pliers
- Paper tape
Once you have the necessary equipment, you can start by climbing the ladder. Open the damper box, place it on the ground, identify the spring to be replaced. Usually if a spring is broken or malfunctioning, the damper will tilt to that side.
Make sure that the damper is raised and locked safely.
Open the spring case and move the hitch hook so that it does not get in your way. Once the spring case is open, block its rotation with an iron pipe or a broomstick.
At this point, gently, begin to extract the damaged spring with the help of work gloves, gradually wrapping it on itself.
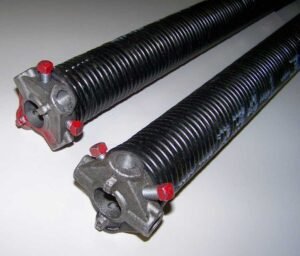
Once all the spring has been extracted, a part will remain hooked with a fixing screw.
Using paper tape, stop the spring you have wound up to now and dedicate yourself to unscrewing the screw that holds the hooked spring in place. Remove the last part of the spring as well.
Repairing the spring of a shutter: broken spring.
During the spring extraction phase, it is possible to find that the spring is broken, rusty or other. If this is the case, secure the part of the spring that you have already rolled up with paper tape and place it on the ground. Then proceed carefully to take the second piece. Use the pliers, when a grinding wheel breaks, the broken part is extremely sharp.
Using the pliers, extract the second part of the spring and, being careful, start wrapping it around itself, fixing it when possible with paper tape.

Repairing a shutter spring: spring replacement
Once the spring has been correctly extracted, it is time to replace it: the damper spring prepared for manual assembly will already be ready for assembly in a simple way. The first thing to do (you will proceed in reverse), will be to tighten the fixing screw and gradually wind the spring on the tube. Once this operation is finished, just connect the spring, close the case and you’re done.
All that remains is to hook the damper to the enclosure via the attachment hook.
Repairing a shutter spring in Mission Viejo: don’t you feel like it?
Are you not a DIY lover and don’t want to replace a spring yourself? Or did you try and struggle?
Don’t worry, call BGD for shutter spring repair service in Mission Viejo on the toll-free number and in a few minutes (for precision within 20 minutes) we will be at your garage or shop, to install your new damper spring. We can use the spring you bought directly, or one of those found in our mobile workshop. We have dozens of spring types and sizes available.
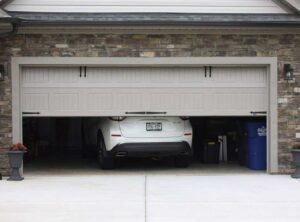
After the damper spring replacement intervention, your damper will rise and lower easily, exactly as before, without suffering any slowing down or blockage. If the shutter doesn’t go down and raise easily, there’s something that hasn’t been done right.
Also in this case we can go to check the installation and possibly correct it.
If this article was useful for you to do everything yourself, let us know!